This article was originally produced on December 4, 2019, some facts and prices may have changed since then.

If you want to make your car stand out from the crowd, there is a lot to do. In this chapter on my X-Class project we will go into two of them, physical modification with Delta 4×4 products and the foiling at JWSR Folie & Solfilm with Hexi’s products.
After the flawless and professional delivery of my new X350 from Veho Bil in Segletorp, I drove straight to JWSR Folie & Solfilm in Västerås. Actually you should start with the physical modifications but due to time constraints we had to start at this end. Above all, it is the installation of the screen widths that should be done before the foil is in place, as there is a risk that the glue will not adhere to one hundred percent. So my recommendation is to do it by the book and start the assembly before the foiling. Now you can indulge in this and thanks to the professional execution of all work, no problems have arisen.
The feeling of taking a factory new car, where even the delivery plastic remains on the seats, and leaving it is special. Joakim at JWSR Folie & Solfilm received the car in his workshop outside Västerås and began work immediately. I had already thought out a design for the car I want to work on. Of course with Joakim’s own ideas if something I came up with wouldn’t work or if he had a better idea.

My previous Amarok was pastel gray in the color Nardo Gray with the sponsor logos mounted as a pattern on the rear part under the foil. The idea was that they would stick up under the foil and form a pattern in relief. Unfortunately, the end result was not what I had hoped for and meant that you could not see the logs clearly enough. However, I liked the layout with the logos and had also created a desire to have a matte black car. Something many spoke against and referred to how hyped it was with matte black foiled cars about ten years ago. However, I stuck to my idea as I had a thought where the matte black was just part of something more advanced. Something I’m very glad I stuck with when I could see the end result. To begin with, Joakim laid the matte black base film over the entire car. A job that takes time but with his skills goes away. Much thanks to own inventions for their tools in combination with those provided by Hexis.
After the base foil, all chrome parts were foiled matte black and some to glossy black. Removing chrome details on a car with foiling is called ”chrome delete” in industry parlance. When this was finished, work began on the logs on the back. These would sit with glossy black foil in diagonal rows starting at the bottom edge of the front doors. To make this as easy as possible, Joakim printed out the whole mess with the logs, which made it easy to then assemble them so that everyone got to the right place.


The feeling of taking a factory new car, where even the delivery plastic remains on the seats, and leaving it is special
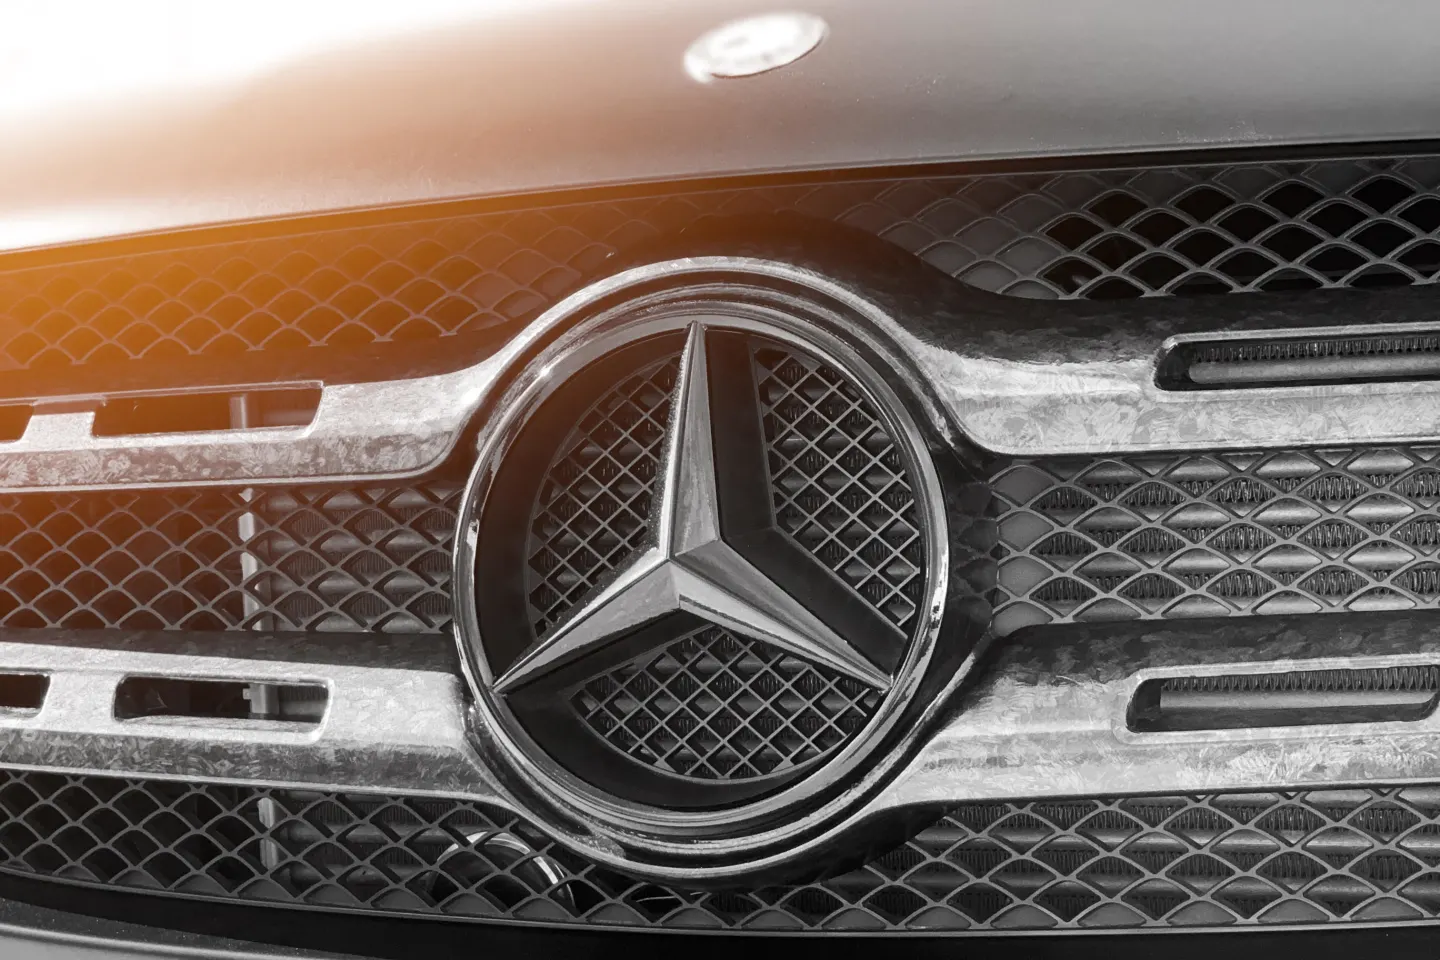
My idea from the beginning was to make details such as rear-view mirrors, the grill and the screen widths in carbon fiber foil. Hexis had just launched a new product which was “Forge Carbon”. A foil that is supposed to imitate the material of the same name that, among others, Lamborghini uses. Instead of weaving carbon fiber threads, the carbon fibers are pressed together, which results in a speckled pattern.
We chose to do the rear-view mirrors, the grill and the B-pillars as mentioned above. After some discussion, we left the scare widths in the original paint, which was glossy black but with a layer of Xspel stone bullet protection. It was simply nicer to keep them glossy black. As the crowning glory, the strips from Mercedes AMG Edition 1 cars were mounted on the hood, roof, tailgate as well as the sides and rear-view mirrors.


After the car was at JWSR Folie & Solfilm, it was time for Keltech Bilinreding to put its teeth into my X-Class. A 40 millimeter raising kit, fender widener, front arch and new rims from Delta 4×4 with Cooper tires were to be installed. A modification to the tailgate from Black Sheep Innovations would also be put in place. To raise a car, you can do it in two different ways. Either by raising the body or on the dampers. I have tried both variants on my previous Amaroks and if you have time and are mostly looking for the appearance, the body lift is preferable. Mainly because you do not affect the chassis and therefore maintain most of the road holding if a slightly higher center of gravity. If, on the other hand, you are looking for higher ground clearance, you should definitely choose an increase in the dampers. Or do both if you are looking for maximum results.
On the X-Class, we chose to raise with a damper raise. Mostly because raising the body is considerably more advanced than on the Amaroken, where it can be done relatively easily. Damper raising is therefore even easier and consists almost only of mounting spacers on the springs to increase the height. An advantage when raising the car is that you can have larger tires. But in order for the larger tires to fit, so-called spacers need to be installed so that the tires come out a bit and parts of the wheel arches are modified because otherwise the tires grip when turning. New for my X Class were the brand new 20″ rims from Delta 4×4. In the past I have driven with the same design on the rims called Klassik_B but with size 18″. An all-round tire from Cooper called the Discoverer AT3 was mounted on these.
The modification of the flat hatch from Back Sheep Innovations means that you open the hatch and empty it of its contents and then install the insert that Back Sheep Innovations manufactures. The result is an extra lockable compartment that can be used either for weapons or as, in my case, other things since I don’t hunt. I keep things that are good to access quickly when a situation arises, such as tow rope, starter cables, etc. In addition to the front frame from Delta 4×4, a roll top from American ReTrax was also installed. A flexible and light rolltop that protects what is on the flatbed from dust and wetness.


In the next chapter, I will go into the installation of lights from Vision X, a surveillance camera from BlackVeu and a very special wing arch from GoRhino. An engine optimization from BSR Performance for a little extra push and optimized consumption has also found its way into the X-Class. Stay tuned.